Radio Controller Setup

Contents

  1. Hardware overview
  2. Radio controller setup
  3. Binding the radio controller to the receiver

Hardware overview

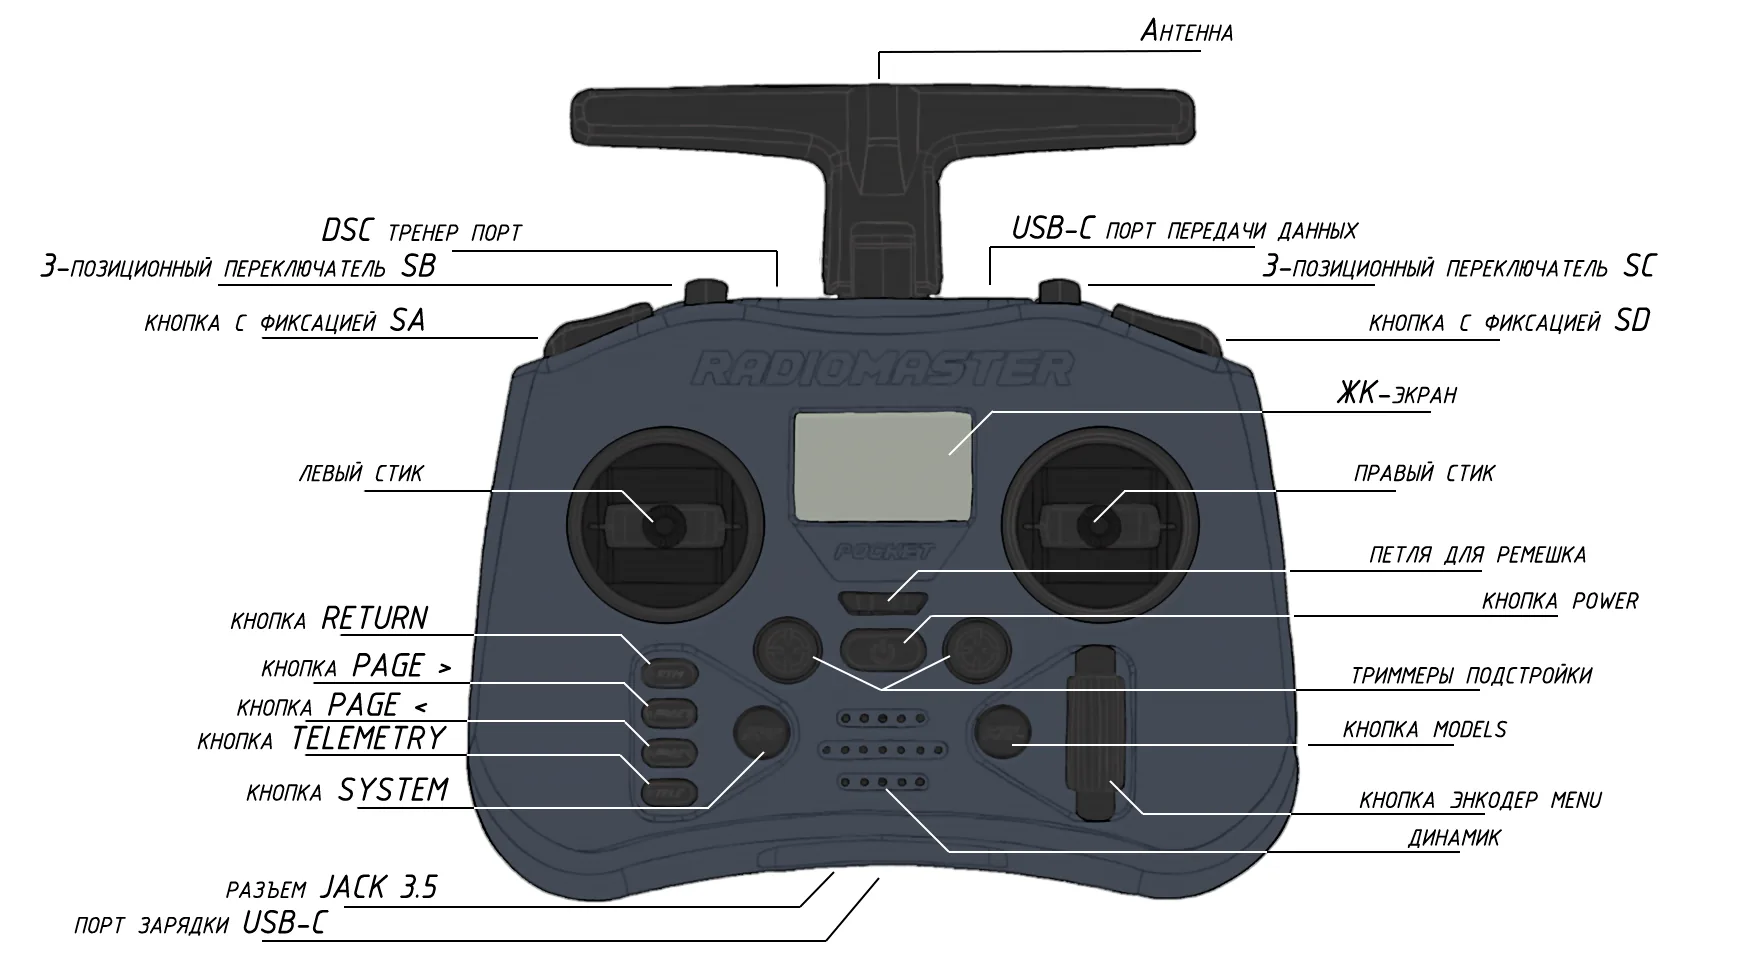
Figure 1 - Radio controller, front view
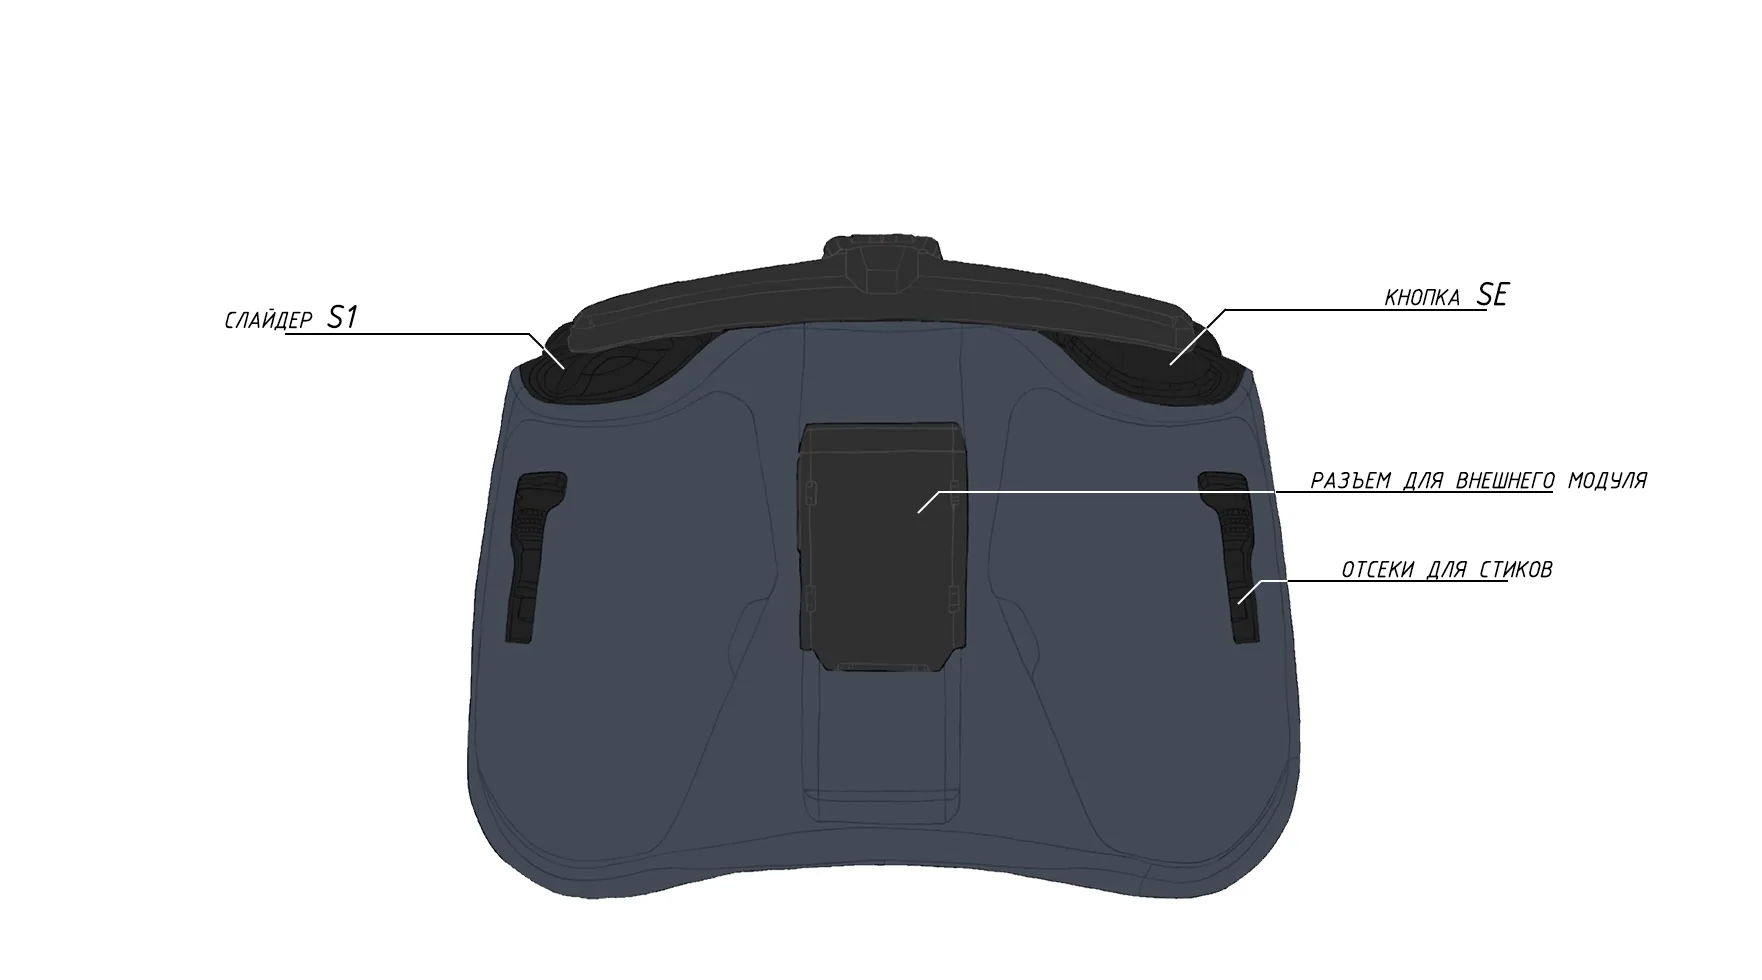
Figure 2 - Radio controller, rear view

Radio controller setup

  1. Remove the black rubber grips from the back of the radio controller.
  2. Insert the batteries, observing the correct polarity.
  3. Put the rubber grips back in place.
  4. Turn on the radio controller by holding the POWER button.

If warning messages appear on the radio controller screen, check the positions of the switches and the throttle stick. Before power-on, they must be in their default positions.
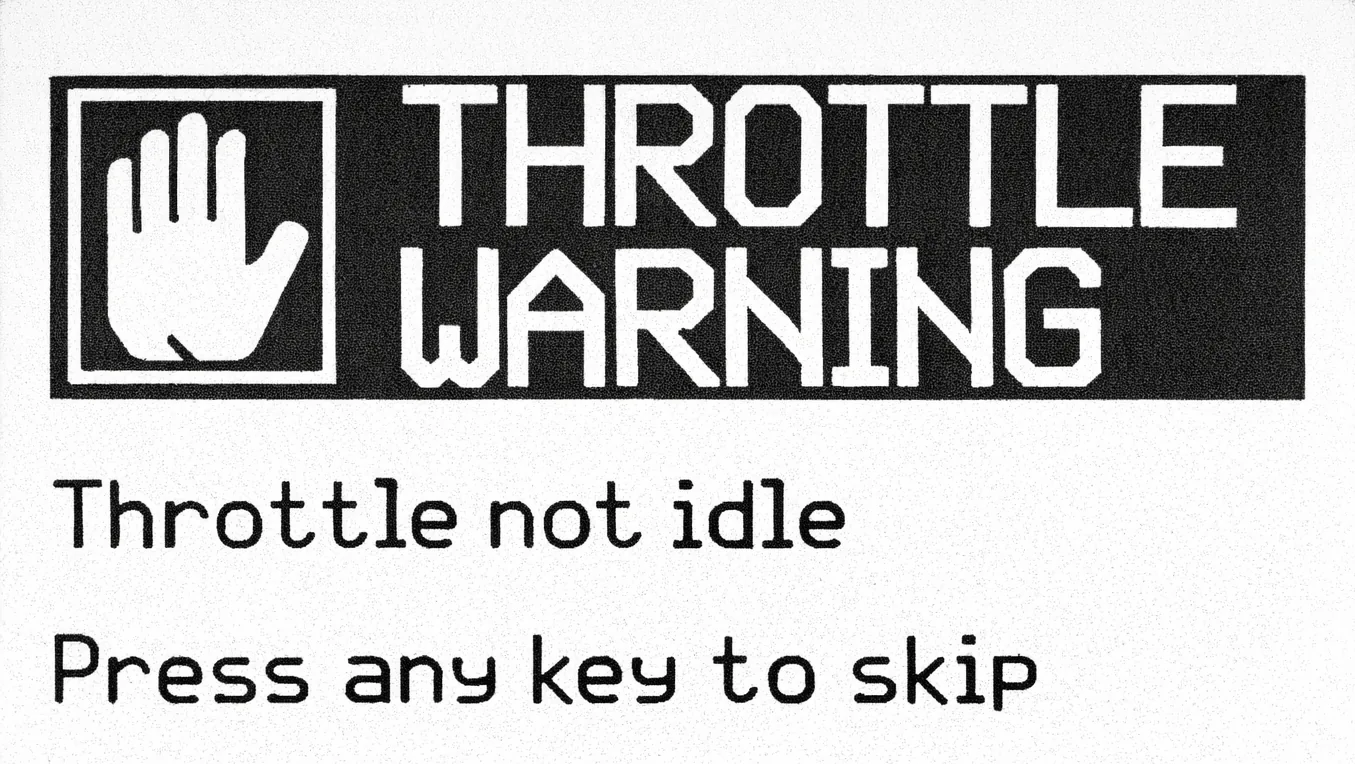
Figure 3 - Warning shown when switches or sticks are in the wrong position

After you return the switches and sticks to their default positions, the main menu will open.
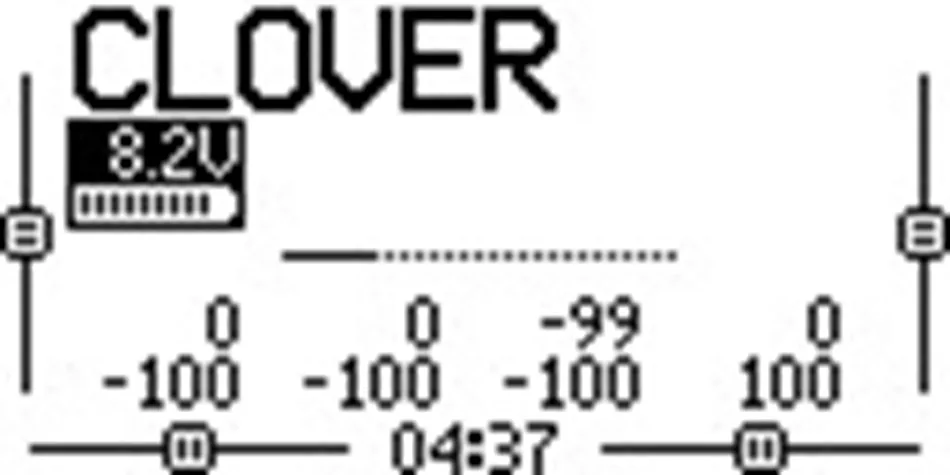
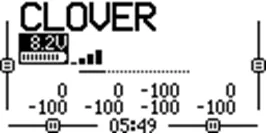
Figure 4 - Radio controller main menu without a receiver link

Binding the radio controller to the receiver

Radio controller setup (transmitter)

  1. Turn on the radio controller by holding the POWER button.
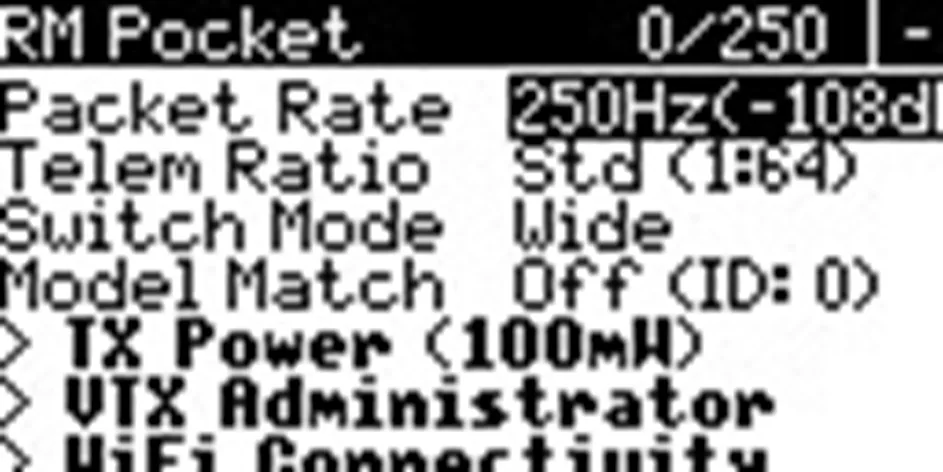
  2. Press SYS and open the ExpressLRS menu, as shown in Figure 5.
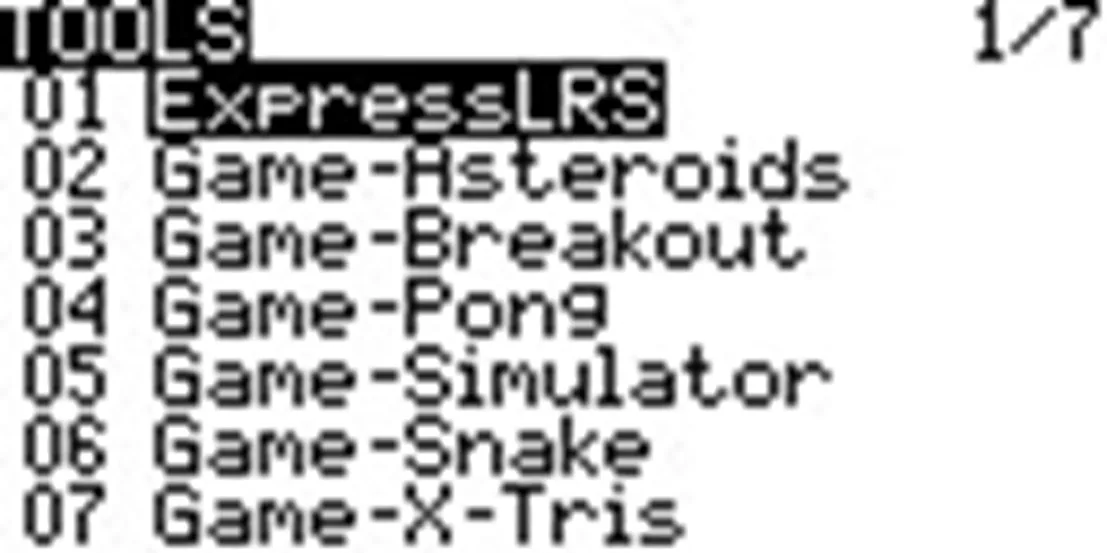
    Figure 5 - Opening the ExpressLRS menu for transmitter setup

  3. Open the WiFi Connectivity tab and enable Enable WiFi, as shown in Figures 6 and 7.

    Figure 6 - Opening WiFi Connectivity settings

    Figure 7 - Enabling WiFi on the ExpressLRS transmitter

  4. Connect from a PC or smartphone to the ExpressLRS TX network. The default password is expresslrs. An example is shown in Figure 8.

    Figure 8 - Connecting to the ExpressLRS TX network

  5. Open a browser and go to 10.0.0.1. The start page is shown in Figure 9.

    Pay attention to the firmware version. If it is lower than 3.3.1, update it with ExpressLRS Web Flasher.

    Figure 9 - ExpressLRS transmitter web interface

  6. Enter a unique Binding Phrase and press SAVE, as shown in Figure 10.

    Figure 10 - Entering the Binding Phrase in the transmitter settings

  7. In the pop-up window, press REBOOT, as shown in Figure 11.

    Figure 11 - Rebooting the transmitter after saving settings

Receiver setup

  1. Put the receiver into WiFi mode by powering the flight controller connected to the ELRS receiver and waiting 60 seconds. After that, the receiver LED will blink continuously.

  2. Connect from a PC or smartphone to the ExpressLRS RX network. The default password is expresslrs. An example is shown in Figure 12.

    Figure 12 - Connecting to the ExpressLRS RX network

  3. Open a browser and go to 10.0.0.1. The start page is shown in Figure 13.

    Pay attention to the firmware version. If it is lower than 3.0.0, update it with ExpressLRS Web Flasher.

    Figure 13 - ExpressLRS receiver web interface

  4. Enter the same unique Binding Phrase that was used on the transmitter, then press SAVE & REBOOT, as shown in Figure 14.

    Figure 14 - Entering the Binding Phrase in the receiver settings

  5. In the pop-up window, press REBOOT, as shown in Figure 15.

    Figure 15 - Rebooting the receiver after saving settings

  6. Setup is complete. After reboot, the link should appear as shown in Figure 16.

    Figure 16 - Radio controller main menu after setup through Bind Phrase

Alternative method: Bind mode

  1. Put the receiver into bind mode by powering the flight controller connected to the ELRS receiver on and off three times.

When the receiver enters bind mode, the LED on the receiver starts blinking twice with a pause.

  1. On the radio controller, press SYS and open the ExpressLRS menu, as shown in Figure 17.

Figure 17 - Opening the ExpressLRS menu

  1. Set TX Power to 100mW, as shown in Figure 18.

Figure 18 - Setting transmitter power to 100mW

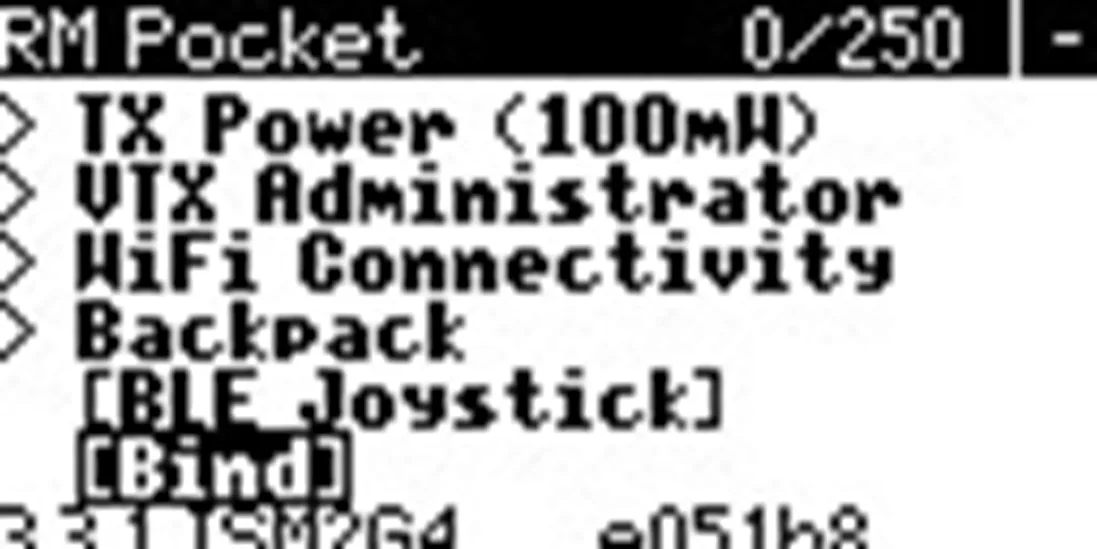
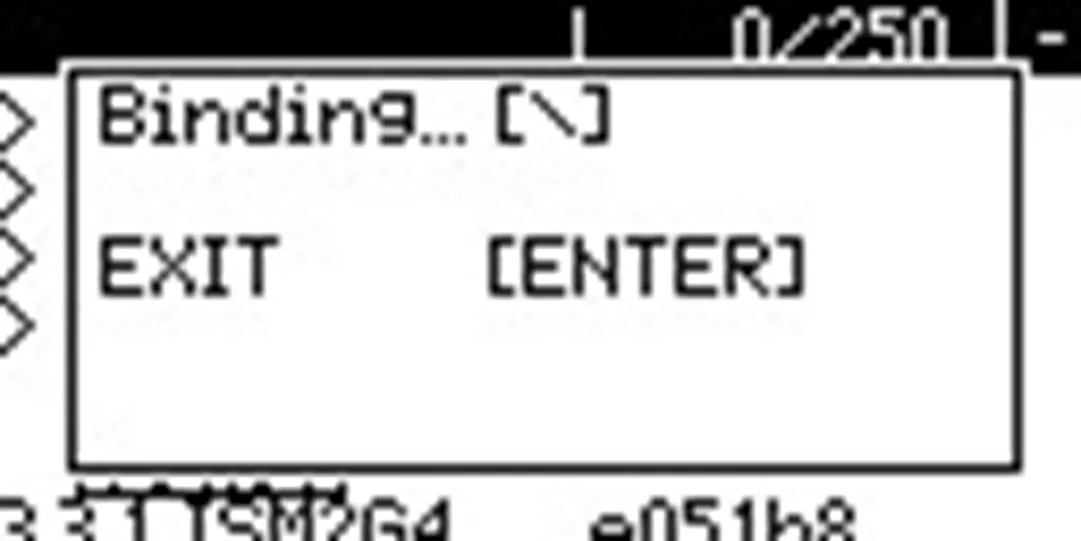
  1. Press Bind and wait until binding finishes, as shown in Figure 19.

Figure 19 - Starting binding from the ExpressLRS menu

  1. Press RTN. The receiver link indicator will appear in the main menu, as shown in Figure 20.

Figure 20 - Radio controller main menu after successful binding

results matching ""

    No results matching ""